Ingredients
-
1 whole green cabbage
-
6 carrots
-
1 daikon radish (optional)
-
2 onions
-
2 apples
-
1 bunch spring onions
-
12 cloves fresh garlic (NOT jarred garlic with preservatives or kimchi will not ferment)
-
2cm x 2cm chunk of fresh ginger peeled (again, must be fresh)
-
1.5 cups Korean chilli powder called Gochugaru (can be found in your local Asian grocery store)
-
1/4 cup dried seaweed (can dry strips of any seaweed or a sheet of dried nori)
-
4 small button mushrooms or 1/4 cup dried mushrooms
-
1/4 - 1/3 cup rice flour
-
1.5 cups salt (must be NON iodised salt or Kimchi will not ferment)
-
Water
-
Makes: Approx. 4-5kgs of kimchi. Reduce everything by half to make smaller amount.
-
Equipment needed: Large pot, stock pot and small pot, a couple of large bowls, a pair of latex gloves for mixing kimchi (to avoid stained hands), measuring cups, good blender, glass jars, knives, small pot.
Directions
Day 1:
1. First step is to cut the whole green cabbage up into small squares, this can be very rough. Avoid the hard veins on the cabbage outside and centre, and the rougher outside leaves.
2. Put the cut-up cabbage into a large stock pot, large enough to fit all the cabbage. Sprinkle cabbage with 1.5 cups salt. Pour water over cabbage and salt until the pot is full and cabbage fully submerged in salted water.
3. Place covered pot in fridge for 24 hours or overnight.
Day 2:
4. Take pot of cabbage out of fridge. Drain the water out and thoroughly wash the cabbage in cold water. Drain all excess water off washed cabbage and put back into the pot.
5. Chop up carrots and daikon radish (optional) into thin matchsticks. No need to peel the carrots, but do peel the daikon radish if using. Set aside.
6. Take bunch of spring onions. Chop the green tops up into pieces about 2cm long and set aside with carrots and daikon radish. Take whites of spring onions and set aside for blender.
7. Using your blender now. Peel the 2 onions and chop each into quarters. Chop 2 apples into quarters, removing seeds from the middle. Peel the 12 garlic cloves. Peel the piece of ginger. Get the whites of the spring onions. Place all these ingredients into the blender and blend until smooth. You may need to blend in two batches, and you may also need to add a tbsp or two of water - but only add a small amount at a time. The mixture will seem like it won’t blend to start with, then the apples and onions will liquidise. The mixture will be thick but fully blended. Pour this mixture into a LARGE mixing bowl. Add the 1.5 cups of Korean chilli powder Gochugaru to the blended paste and mix together. Set aside.
8. Take your fresh button mushrooms and chop into small pieces and place in a hot pot. When mushrooms start to stick, add 1 cup boiling hot water. Alternatively, if using dried mushrooms, add mushrooms and boiling hot water to pan at the same time. Have pot on high heat. Add in dried seaweed. Let this simmer for a couple of minutes. Water will turn a green/brown colour. Drain the seaweed and mushrooms from the pot, draining the water into a bowl - the water is what you want to keep! Discard the mushrooms and seaweed. Add the water back to the pot, turn the heat down to medium low. Add 1/4 cup rice flour SLOWLY and whisk with fork thoroughly as adding to pot of water. This mixture should thicken up fairly fast. You want it the consistency of a thick pancake batter - it should still be pourable, but nice and thick. Be careful as the rice flour porridge can burn easily if heat is too high and mixture isn’t stirred enough. If mixture is too runny, add more rice flour a tsp at a time. If it becomes far too thick, add some boiling water and whisk until smooth.
9. Add the rice flour porridge that you just made to the large bowl with the blended apple/onions and the chilli powder. Mix this all together until combined. Mixture will be red and smell of garlic, onions, apples and ginger.
10. Put on gloves for mixing! Wear apron to avoid red stains on clothes, or clothes you don’t mind getting stains on. Make sure you have plenty of room for mixing and a large bowl. We will separate the ingredients into two halves - half into the large pot, and the other half into a big mixing bowl. This makes it easier for mixing - as it is a lot of kimchi!
11. Have clean glass jars ready to put kimchi inside, and a place to put jars once full - not in direct sunlight or on carpet (in case kimchi over flows).
12. Mixing - place half of the cabbage mixture in a large bowl, leaving the other half in the large pot.
13. Take half of the carrots, daikon radish and green spring onions and add to the pot with the cabbage. Put the other half in the large mixing bowl.
14. Take the mixture of blended onions/apples/garlic, chilli powder and rice flour porridge. Pour half into the pot. Pour the other half into the mixing bowl.
15. With your gloves on, mix everything together (you have half of the mixture in a bowl, and the other half in the pot). Massage the red blended mixture into the cabbage and other veggies. Every piece of cabbage, carrot, and daikon radish should be covered in the blended red chilli mixture. Mix both halves of the kimchi like this. If it’s too difficult to mix in the large pot, transfer to a small bowl and do in sections.
16. Once everything is all mixed up - time to put the kimchi in jars!
17. Take a handful of kimchi and put it into a glass jar. PUSH down the kimchi so there are no gaps or air bubbles. Add more kimchi and continue to push it down until the jar is full. Leave 1-2 cm gap at the top of the jar - it will need this room to ferment. Do the jar lid up.
18. Do this with all the kimchi and jars until no kimchi remains. Make sure to push the kimchi down as much as possible. Liquid from the kimchi will rise to the top when pushing it down into jars - this is normal.
19. Rinse the closed full jars under water to get any kimchi juice off the outside of them off. Nice and clean!
20. Place the jars somewhere safe that they can stay for a week. This needs to be a place that you can access every day, but not somewhere in direct sunlight or on carpet (in case of over flow).
Day 3 - 8:
21. Open kimchi jars one by one. Using a spoon, or your hand (with a glove on), push the kimchi mixture back down. Every day the kimchi will ferment and may rise up in the jars (or liquid may even overflow out the sides of the jars. It is KEY to push down the mixture every single day so that the cabbage/carrots on the very top of the jar are cover in liquid/chilli paste, and that there are no air bubbles in the jars. MUST do this every day. Wash closed jars again if kimchi over flows.
Day 8:
22. At the end of day 8, place all the kimchi jars in the fridge overnight.
Day 9:
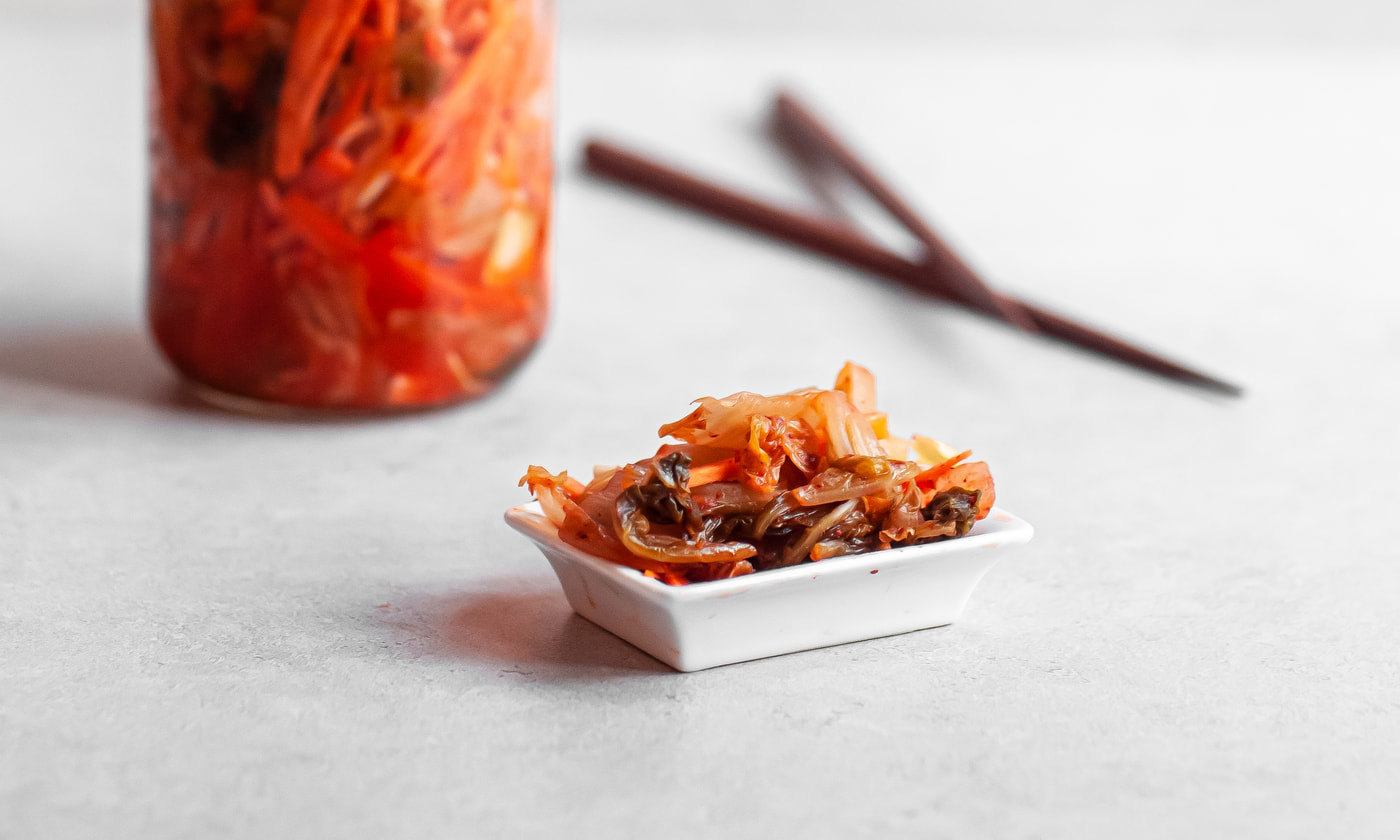
Your kimchi is ready to eat!
Give the top layer a bit of a mix. The top layer may taste ‘fizzy’ - this is a normal part of fermentation. If it does, mix it in with the rest of the jar and it will be fine.
Key notes:
Garlic and ginger MUST be fresh. Preservatives will prevent fermentation.
Salt MUST be NON-iodised salt. Iodine in salt will prevent fermentation.
You must press the kimchi down each day. Missing one day is okay, but try to avoid.
White mold may appear in small amounts inside the jar at the very very bottom. This is a safe mold and normal.
If mold appears on the top layer on kimchi when you open the jar at any point in the process, discard of the kimchi. It is not safe to eat if this happens.
The longer the kimchi is in your fridge, the stronger the taste will get. If it gets too strong to eat by itself as a side, add it to noodle stir fry's, kimchi fried rice, noodle soups etc.
Rice flour is used because of the sugar content of the flour, which aids in fermenting.
The blended apples and onions are for flavour and to aid in fermenting due to their sugar content.
The seaweed and mushroom broth replace shrimp paste and/or dried anchovies that are often used, to replicate the umami taste.
Kimchi is an incredibly healthy traditional Korean dish!It supports healthy gut microbiome!